
How To Crate Train A Rescue Dog: Build Trust
Can you crate train a rescue dog? Absolutely! Crate training is a powerful tool for helping your newly adopted dog adjust to their new home, build confidence, and establish healthy routines. It’s about creating a safe haven, not a prison, and it’s a journey that requires patience, consistency, and a whole lot of positive reinforcement. This guide will walk you through the entire process, from choosing the right crate to celebrating your dog’s comfort and security within their own den.
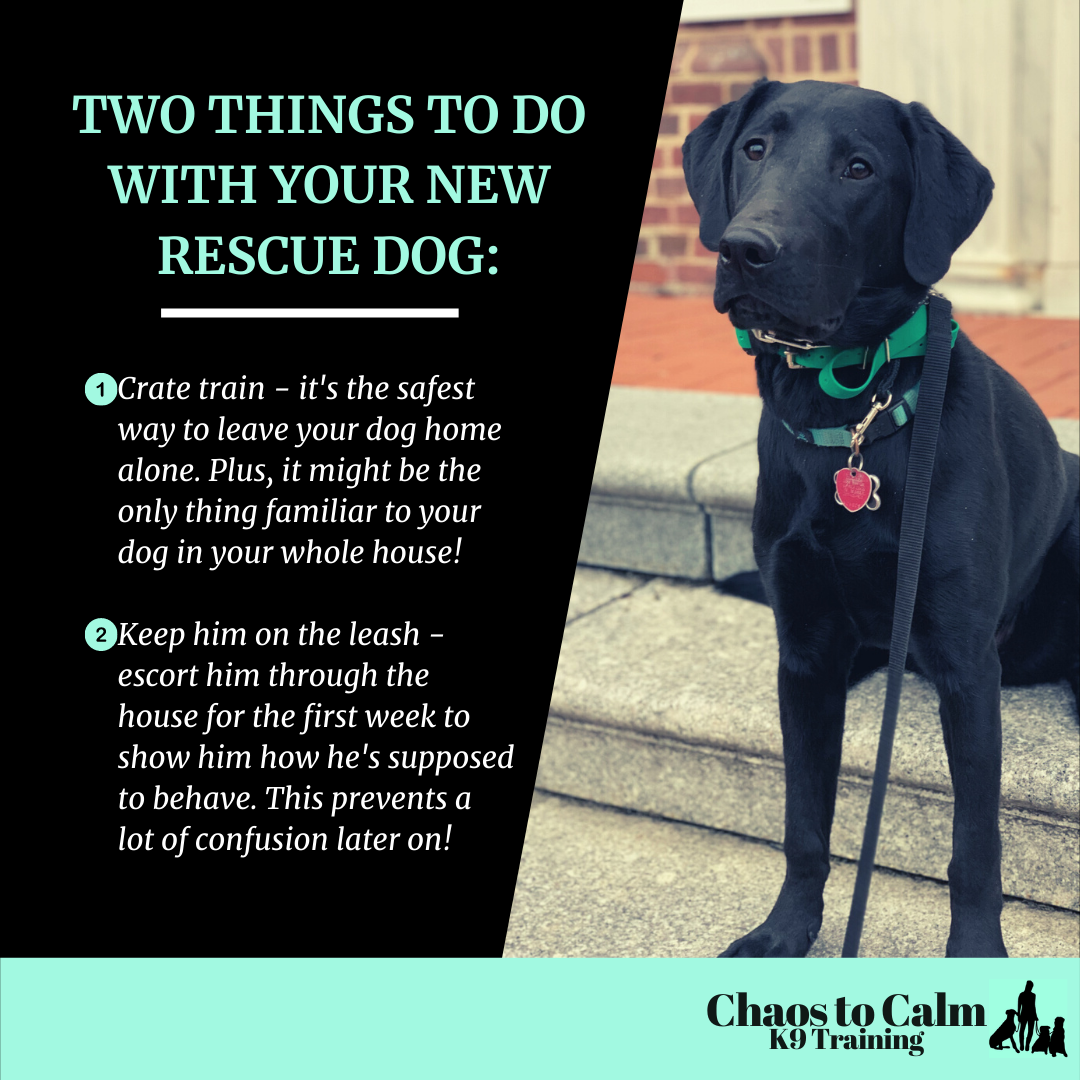
Image Source: images.squarespace-cdn.com
Introducing a Rescue Dog to Its Crate: The Gentle Beginning
The initial introduction to the crate is crucial for crate training a newly adopted dog. This is not the time to force your dog into the crate or to use it as a punishment. Instead, we aim for a calm, positive association. Think of it as introducing them to a new, cozy bedroom.
Key Principles for Introduction:
- Let them explore: Leave the crate door open. Let your dog approach it in their own time. They might sniff around it, peer inside, or even ignore it completely for a while. This is all normal behavior.
- Make it inviting: Place a soft blanket, a comfortable bed, and a favorite chew toy inside the crate. The goal is to make the crate look as appealing as possible.
- Treats and kibble: Toss a few high-value treats or pieces of kibble just inside the entrance of the crate. If your dog readily takes them, try tossing them a little further back, encouraging them to step inside.
- No pressure: Never force your dog into the crate. If they seem hesitant or uncomfortable, back off and try again later. Pushing them will only create negative associations.
- Short, positive sessions: Keep these initial introductions short and sweet. A few minutes of positive interaction is far more effective than a long, stressful session.
Positive Reinforcement Crate Training for Rescues: The Foundation of Trust
Positive reinforcement crate training for rescues is paramount. This means rewarding desired behaviors with things your dog loves, like treats, praise, and gentle petting. This method builds a strong bond of trust between you and your dog, teaching them that the crate is a place of good things.
- Reward even small steps: If your dog simply looks at the crate, praise them. If they put a paw inside, give them a treat. Every positive interaction is a building block.
- Crate as a “party place”: Feed your dog their meals inside the crate. Start with the bowl near the entrance, then gradually move it further back as they become more comfortable. This makes mealtime a positive event linked to the crate.
- Happy associations: During training sessions, use a happy, encouraging tone of voice. Your enthusiasm will be contagious.
- Avoid punishment: Never use the crate as a place to send your dog when they’ve misbehaved. This will quickly turn their safe space into a place of dread.
Crate Acclimation for Adopted Dogs: Gradual Steps to Comfort
Crate acclimation for adopted dogs is a process that unfolds over time. It’s about slowly increasing your dog’s comfort and confidence with the crate. This means taking small, manageable steps and always gauging your dog’s reaction.
Phased Approach to Crate Acclimation:
- Initial Entry: As discussed, this involves letting the dog explore and offering treats inside.
- Door Open, Short Stays: Once your dog is willing to go inside with the door open, start closing the door for very short periods – just a few seconds. As soon as you open it, give them a treat and praise.
- Gradually Increase Duration: Slowly increase the time the door is closed. Start with 30 seconds, then a minute, then two minutes, and so on. Always return and reward them before they show signs of distress.
- Introduce Distractions: Once your dog is comfortable with you closing the door for longer periods, start introducing gentle distractions outside the crate. This could be you moving around the room, talking on the phone, or watching TV.
- Leaving the Room: The next step is to leave the room for short periods. Begin with just a minute or two, returning before your dog becomes anxious. Gradually extend the time you are away.
- Full Absence: Eventually, you can work up to leaving your dog in the crate for longer periods while you are out of the house.
Making a Crate a Safe Space for a Rescue: The Den of Security
The ultimate goal of making a crate a safe space for a rescue is to establish it as their personal sanctuary. It’s a place where they can retreat, feel secure, and relax without being bothered.
- No intrusions: Once your dog is comfortable in the crate, avoid disturbing them when they are inside and resting. Don’t poke them, pull them out, or allow small children to badger them. This is their private time.
- Comfort items: Ensure the bedding is soft and comfortable. Some dogs like a familiar blanket or a favorite toy that has their scent on it.
- Location matters: Place the crate in a quiet, low-traffic area of the house where your dog can still feel part of the family but also have peace. A corner of the living room or a quiet bedroom is often ideal.
- Consider a cover: For some dogs, especially those who are nervous or easily startled, covering the crate with a breathable blanket can create a more den-like atmosphere and help them feel more secure. Ensure adequate ventilation.
House Training a Rescue Dog Using a Crate: A Practical Partnership
Crate training is an invaluable aid in house training a rescue dog using a crate. Dogs are naturally clean animals and are reluctant to soil their sleeping area. This instinct can be harnessed to help your dog learn to hold it until they are taken outside.
How Crate Training Supports House Training:
- Supervised Freedom: When your dog is not in their crate, supervise them closely. If they start to sniff around, circle, or squat, immediately take them outside.
- Scheduled Potty Breaks: Take your dog out frequently, especially:
- First thing in the morning.
- After waking from a nap.
- After eating or drinking.
- After playtime.
- Before bedtime.
- Crate as a “Holding Tank”: When you cannot directly supervise your dog, place them in their crate. This prevents them from having accidents in the house.
- Immediate Outdoor Access: As soon as you let your dog out of the crate, take them directly outside to their designated potty spot.
- Praise and Reward: When they successfully eliminate outside, offer enthusiastic praise and a high-value treat. This reinforces the desired behavior.
- Accident Management: If an accident happens inside, do not punish your dog. Simply clean it up thoroughly with an enzymatic cleaner to eliminate odors that might attract them back to the same spot. If you catch them in the act, interrupt them with a clap or a gentle “oops,” and immediately take them outside.
Puppy Crate Training Tips for Rescues: Early Habits for Success
While this guide focuses on rescue dogs of all ages, puppy crate training tips for rescues share many of the same principles. Puppies have a strong denning instinct, making them generally easier to crate train than adult dogs who might have had negative past experiences.
- Start early: The sooner you start, the better.
- Appropriate size: Ensure the crate is the right crate size for a rescue dog, whether a puppy or adult.
- Short durations: Puppies have small bladders and can’t hold it for long periods. Gradually increase the time they spend in the crate.
- Nighttime routine: Crate training at night can be a game-changer for house training puppies.
- Play and exercise: Ensure your puppy gets plenty of exercise and mental stimulation before crate time to tire them out and encourage sleep.
Overcoming Crate Anxiety in Rescue Dogs: Addressing Fears
Some rescue dogs, especially those who have experienced neglect or abandonment, may exhibit crate anxiety in rescue dogs. This can manifest as whining, barking, scratching at the door, or even trying to escape. Addressing this requires extra patience and a focus on building positive associations.
Strategies for Overcoming Crate Anxiety:
- Rule out medical issues: If your dog shows extreme anxiety, consult your veterinarian to ensure there isn’t an underlying medical reason.
- Desensitization and Counter-Conditioning: This is a slow, gradual process.
- Step 1: Crate is open, dog is happy. Your dog should voluntarily enter for treats and toys.
- Step 2: Door briefly closed, happy exit. Close the door for a second, open it, and reward.
- Step 3: Gradually increase duration. Slowly increase the time the door is closed, always rewarding before distress occurs.
- Step 4: Introduce owner absence. Start with very short absences and build up.
- High-Value Rewards: Use exceptionally enticing treats (like small pieces of cheese, chicken, or special training treats) that your dog only gets when in the crate.
- Chew Toys: Provide safe, engaging chew toys inside the crate to keep your dog occupied and reduce focus on confinement.
- Calming Aids: Consider using calming pheromone diffusers (like Adaptil), calming supplements (after vet consultation), or a calming music playlist designed for dogs.
- Avoid Forcing: Never pull a scared dog out of the crate. Wait for them to come out willingly or lure them with a treat.
- Professional Help: If anxiety is severe or doesn’t improve, consult a certified professional dog trainer or a veterinary behaviorist. They can create a tailored plan.
Choosing the Right Crate: Crate Size for a Rescue Dog
Selecting the correct crate size for a rescue dog is fundamental to successful crate acclimation for adopted dogs. A crate that is too large can lead to accidents in one corner while the dog sleeps in another, undermining house training. A crate that is too small will be uncomfortable and may cause distress.
Guidelines for Crate Sizing:
- Length: The crate should be long enough for your dog to stand up, turn around comfortably, and lie down fully stretched out.
- Height: It should be tall enough for your dog to stand up without their head touching the top.
- Width: Ample width allows for turning around easily.
- Divider Option: Many crates come with dividers. This is excellent for puppies or growing dogs, allowing you to adjust the space as they get bigger, ensuring the crate remains the appropriate size.
What to Measure:
- Measure your dog from the tip of their nose to the base of their tail. Add 4-6 inches for length.
- Measure your dog from the floor to the top of their head or ears (whichever is higher). Add 4-6 inches for height.
Duration of Crate Training for Rescue Dogs: Patience is Key
The duration of crate training for rescue dogs varies greatly depending on the individual dog’s history, personality, and previous experiences. There is no set timeline. Some dogs adapt very quickly, while others may take weeks or even months to feel completely at ease.
- Focus on progress, not speed: Celebrate small victories. If your dog is willing to go in the crate for a few minutes and relax, that’s progress!
- Gradual Increase: Always increase the duration of crate time slowly and incrementally. Pushing too fast can set you back.
- Age and Temperament: Puppies generally adjust faster than adult dogs. Dogs with a history of trauma or abandonment may require more time and patience.
- Consistency is vital: Regular, short training sessions are more effective than infrequent, long ones.
- Observe your dog: Pay close attention to your dog’s body language. Signs of stress include excessive panting, yawning, lip licking, pacing, or whining. If you see these, you may be moving too quickly.
Making the Crate a Den: Essential Accessories
To truly make a crate a safe haven, consider these accessories:
- Comfortable Bedding: Soft, washable bedding that fits the crate snugly. Avoid anything that could be easily shredded and ingested.
- Safe Chew Toys: Durable chew toys like Kongs (which can be stuffed with peanut butter or kibble), Nylabones, or Benebones are excellent for keeping dogs occupied and happy in their crates.
- Water Bowl: For longer durations, a spill-proof water bowl that attaches to the crate can be beneficial.
- Treats: High-value treats for positive reinforcement.
What NOT to Do During Crate Training
To ensure a positive experience, avoid these common mistakes:
- Using the crate for punishment: This is the quickest way to create negative associations.
- Leaving your dog in the crate for too long: Puppies especially need frequent potty breaks and social interaction. Adult dogs also need exercise and mental stimulation outside the crate.
- Ignoring signs of distress: If your dog is genuinely struggling, don’t push them to endure it. Reassess your approach.
- Forcing them in: This can lead to fear and resistance.
- Making the crate a lonely place: Integrate the crate into your home environment.
Frequently Asked Questions (FAQ)
Q1: How long can I leave my rescue dog in the crate?
The general rule of thumb is that a dog can be crated for approximately one hour per month of age, up to a maximum of 8-10 hours for adult dogs. For example, a 4-month-old puppy could potentially be crated for up to 4 hours, and an adult dog for 8-10 hours. However, this is a guideline, and individual needs vary. Always ensure your dog has had sufficient exercise and potty breaks before and after crate time.
Q2: My rescue dog whines constantly in the crate. What should I do?
Whining can indicate a need to go potty, boredom, or anxiety. First, ensure your dog has been out for a potty break and has had exercise. If the whining persists, and you are confident they don’t need to go out, resist the urge to immediately let them out, as this can reinforce the whining behavior. Instead, wait for a brief pause in the whining, then calmly reward them. If the whining is due to anxiety, you’ll need to go back to the desensitization process and gradually increase durations.
Q3: Is it okay to cover the crate?
Yes, covering the crate with a breathable blanket can help create a den-like atmosphere and reduce distractions, which can be beneficial for anxious dogs. However, ensure there is adequate ventilation and that the dog is not overheating.
Q4: My dog tries to escape the crate. What does this mean?
Escape attempts usually indicate significant discomfort, anxiety, or a strong need to be elsewhere. This is a sign that you need to slow down the crate acclimation for adopted dogs process significantly. Revisit the initial stages of positive reinforcement crate training for rescues, ensuring the crate is a truly positive experience. Focus on making a crate a safe space for a rescue and consider professional help if this behavior is persistent.
Q5: My dog ate something they shouldn’t have while in the crate. What should I do?
Immediately contact your veterinarian or an emergency veterinary clinic. Do not try to induce vomiting unless instructed to do so by a professional. Provide them with as much information as possible about what your dog ingested. For the future, ensure only safe, appropriate toys and items are left in the crate with your dog.
Crate training a rescue dog is a journey of building trust and providing a secure environment. By approaching it with patience, positive reinforcement, and a commitment to your dog’s well-being, you can transform the crate into their favorite sanctuary.